
 30% 50%
 50% 50%
 40% 50%
 50% 30%
 60% 30%
 50% 50%
 50% 40%
 50% 50%
 50% 50%
 50% 50%
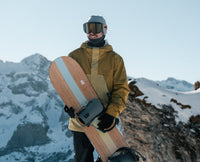
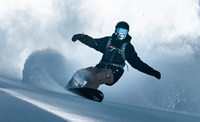
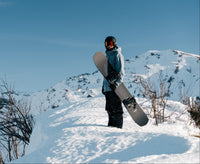
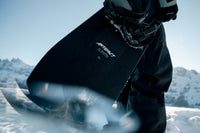
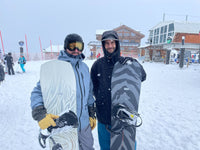
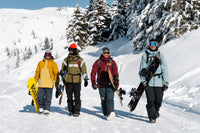

A splitboard is a snowboard that splits in two. Clip the halves together and it rides like any other board. Separate them, attach climbing skins, and you have a pair of short skis that lets you walk up a mountain, then ride down fresh, untracked snow without a lift. If you have ever looked at a backcountry slope and wondered how to get there on a snowboard, this beginner's guide to splitboarding explains how it works, what you need and how to choose your first board.
How does a splitboard work?
A splitboard has two modes:
- Touring mode (going up): the board is separated into two skis. Climbing skins stick to the bases and grip the snow so you can slide your feet forward and walk uphill. Your bindings are set for walking, with a hinge that lets your heel lift.
- Ride mode (going down): at the top you remove the skins, join the two halves with the clips and hooks, and move your bindings to the riding position. From there it is a normal snowboard.
Switching between the two is called a transition. It takes a few minutes at first and a lot less once you have practised it.

What gear do you need?
Beyond the splitboard itself, a basic setup includes:
- Splitboard bindings that work in both touring and riding mode.
- Climbing skins, cut to fit your board.
- Adjustable poles for balance on the way up.
- Snowboard boots with a flexible enough cuff for walking.
- Avalanche safety equipment: a transceiver, a shovel and a probe, plus a backpack to carry them.
- Layers and a helmet, because you will sweat on the way up and be cold at the top.
Crampons are useful once the slope turns hard and icy. Many beginners rent or borrow skins and poles at first, then buy once they know they love it.
Safety comes first
The backcountry is not a ski resort. Nobody patrols, nobody triggers the avalanches for you, and help can be hours away. Before your first tour:
- Take an avalanche safety course and practise rescue with your transceiver, shovel and probe.
- Check the avalanche bulletin and the weather before every outing.
- Go with experienced partners, ideally a certified guide for your first trips.
- Choose gentle, simple terrain until you understand snow and slopes.
Are you ready to start?
Splitboarding is about two skills: riding and climbing. You should already be comfortable on a snowboard in varied snow, including off-piste, because the descent is often in untracked snow, crust or variable conditions. The climb asks for fitness and patience, but you set the pace. A short, easy first tour is the best way to find out if you love it.
Choosing your first splitboard
A splitboard is chosen like a snowboard: by terrain, level and size. We make three splitboards, and they suit different riders:
- Ramen Express is listed for riders from beginner to expert and is the best starting point in our range. It has a true twin shape with a 10 mm setback and a Camrock profile, built around the UL Forest Core. It keeps the descent playful and balanced while staying easy to handle on long touring days. It is less suited to extreme big-mountain riding or dedicated deep-powder performance.
- Koi Splitboard is a directional, surf-inspired board with a Powder Camber profile and a fish-shaped tail, for advanced to expert riders who prioritise powder and technical terrain.
- Alpine Pro Splitboard was developed in Chamonix with Freeride World Tour veteran Clément Bochatay for steep faces and serious alpine objectives. It is a stiffer, more technical board, listed for advanced to expert riders, so it is not where most people start.
You can compare all three in the splitboards collection.

Sizing and what to expect on the way down
Size works as it does for a regular board: weight first, then terrain. The Ramen Express, for instance, comes in a 156 (listed for 60–80 kg) and a 160 (listed for 70–95+ kg). Our snowboard size guide explains how to use these ranges, and each splitboard page shows the full chart.
The profile matters too. A Camrock board such as the Ramen Express is forgiving, while a Powder Camber board such as the Koi Splitboard gives more float; our guide to camber and rocker explains the difference.
Your first tour in five steps
- Learn the basics and take an avalanche course.
- Pick a short, easy route with experienced partners.
- Practise your transition at home in your living room, with the skins on and off.
- Set a comfortable pace on the way up and take breaks.
- Enjoy the descent, then talk about it over lunch.
Questions about which splitboard fits your level? Ask Ben, the founder, or try the Board Finder.
0 comments